

How To Repair An Rv Water Pump
Paying close attention to the office of your RV wall that needs repair will help yous foreclose greater bug and college costs in the future. In the post-obit, we'll discuss some of the things, that you demand to know in doing the repairs for yourself. If you're ready, permit's begin and learn how to do some fixes to the wall of your RV.
May you like: Best RV Roof Blanket – Condom Roof Blanket for RV Camper Trailer
RV Interior Wall Repair
The offset common result is interior wall harm. In order to repair it, follow these steps.
Example one Irresolute the paneling
-

Tape off everything to embrace what needs it to ensure that those covered areas exist protected from the Rust-Oleum, liquid smash and expansion foam.
-

Apply Rust-Oleum RV Leak Seal Rust inhibitor. Utilize 2 coats of it or equally much as you lot think is needed. Let it dry out overnight.
-
Employ liquid nail, a synthetic rubber multi-use adhesive, which is solvent-based and with a non-runny consistency. It can deliver us with a lasting and consequent bond of nearly substrates.
-

Get all the insulation back in its proper place before proceeding with the side by side stride. Make certain that it is properly positioned equally it was before.
-

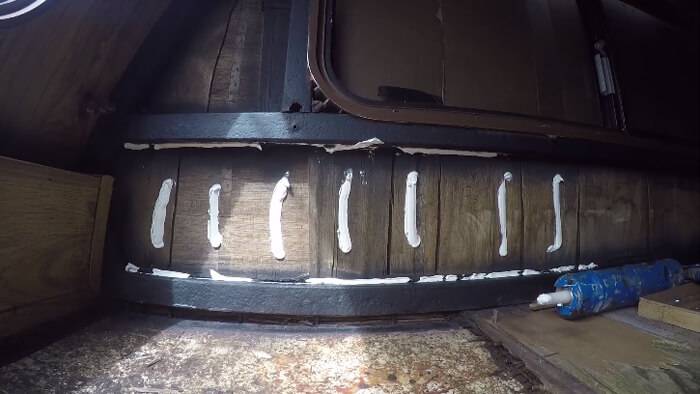
Apply the expansive cream to cement everything. Fill gaps and do it carefully.
-

Cutting all the excess foam. Let it set overnight. Use a little saw to make certain everything is flushed.
-
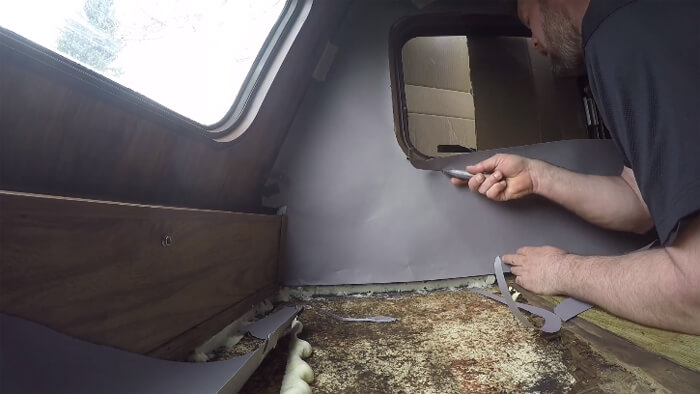
For the paneling, utilise a big construction paper and cut it out to figure out the edges and corners especially for weird shapes.
-

Lay the cutout on a console board just as y'all tin meet in the photo above. Mark the shape and cut out using a jigsaw.
-

Get the panel onto the wall and utilize a liquid nail to attach it.
May you like: All-time RV Roof Sealant – RV Prophylactic Roof Sealant
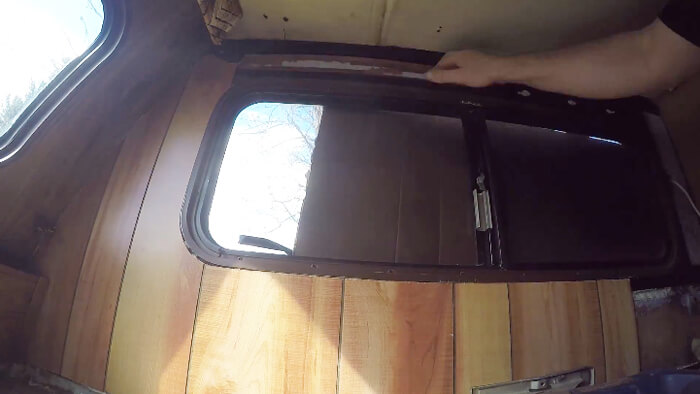
Case 2 H2o impairment in the RV wall
-

Remove curtain rod holder. If the screws are rusty, beat them with a hammer. Remove all the screws.
-

Cutting out the paneling based on the measurements you have set it for, and exercise it right the first fourth dimension to ensure you don't have to repeat the procedure.
-

Remove the insulation block using a flat bar simply as what you can encounter in the photograph.
-
Bank check for any rust, and remove all that you tin see. Get rid of the big flakes and smooth everything out as possible.
-
Tape all the areas you lot never desire to get paint on.
-
Go a liquid blast and apply it generously. Take your insulation block and get it back into identify.
-

Cheque the gaps and use the expansive foam to make full them upwardly. In the next day, you lot should remove the excess foam.
-
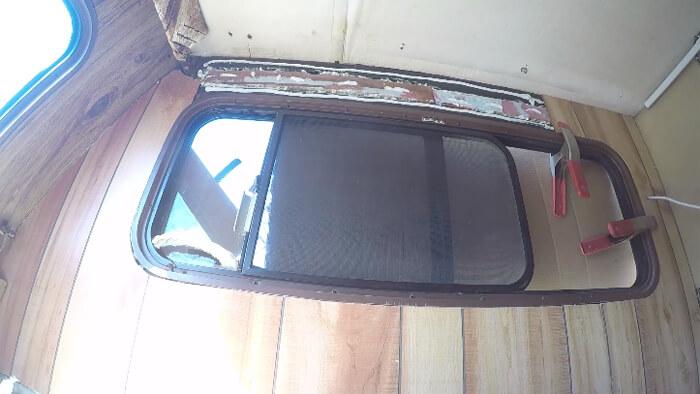
Fit the paneling properly into place.
-
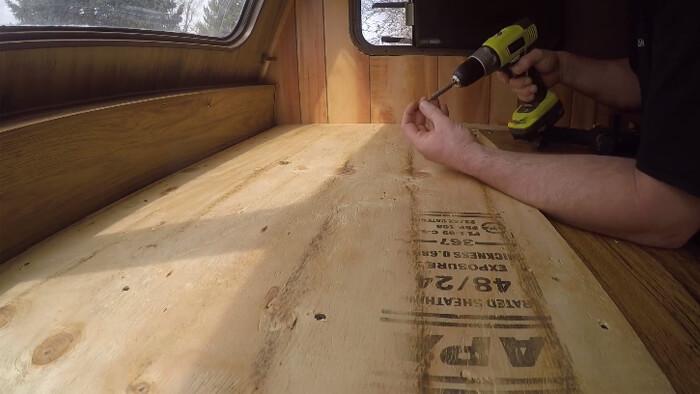
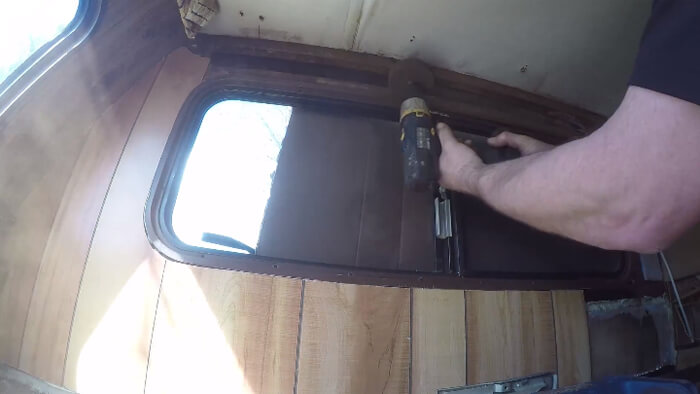
Supplant the plywood back into its position and screw it down at an appropriate depth to foreclose screws hitting fiberglass etc. Screw with as many as you think necessary.
-
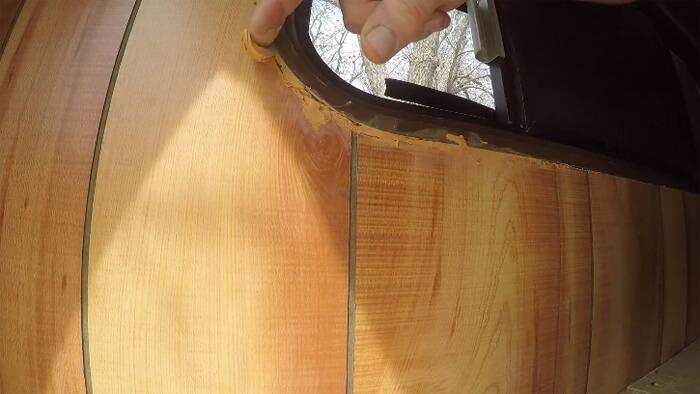
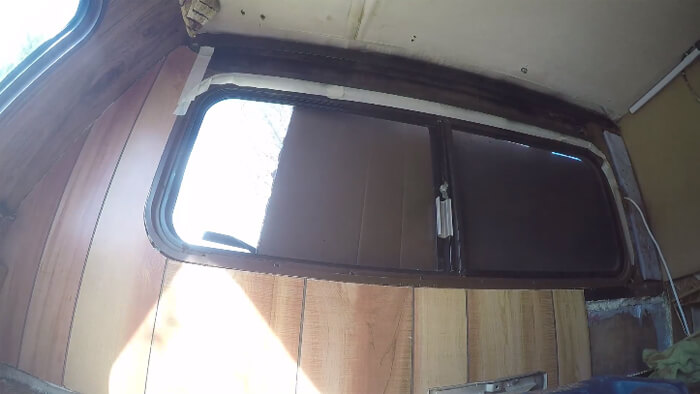
Fill the entire gap and wipe it down. Use color putty for this awarding and cover the area well.
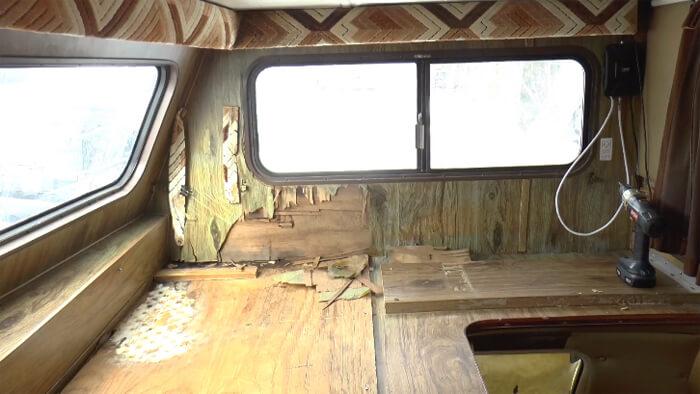
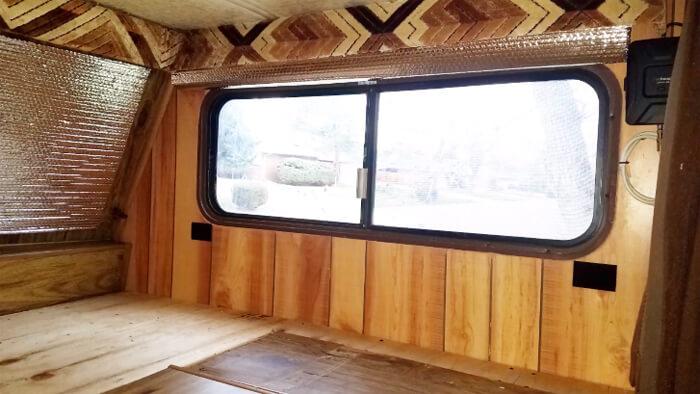
And for the results, let us endeavor to compare with some before and after photos.
Before, with all the mess mold mildew
Here is the end result with the new plywood up.
May you lot like: Heated RV H2o Hose
Tips for other cases
RV Fiberglass Wall Repair
To brand modest repairs on the fiberglass wall, set up the things, including drill, animate mask, centre protection, gloves, sandpaper, fiberglass repair kit, auto body filler, and foam insulation.
- Wear middle protection, gloves & a breathing mask. Remember that fiberglass can exist stuck in your skin. It is also unhealthy to inhale.
- Using a abrupt knife, you lot can cut away the damaged portion.
- Repair the insulation located behind the sliding if deep holed. Use expanding foam insulation on it and permit it dry. Sand the excess foam insulation to level it with the rest of the insulation.
- Mix motorcar body filler, apply to the hole & permit dry earlier sand flushing.
- Repair the fiberglass by applying it over the filler. Allow to drying before sand flushing.
- Paint the repaired surface area. Choose the correct color of the touch on-up paint.
RV Foam Wall Repair
Some other walling material to repair in your RV is the foam wall. Here is what you demand to do.
- Go rid of the hole debris. Have all the drywall or plaster pieces clinging to the hole'southward edges.
- Utilise some one-time newspaper to stuff into the hole. Exist sure to arrange that at the bottom considering it needs to support the spray foam later. Make sure that the surface area backside the hole is articulate.
- Spray cream into the hole simply only up to ¾ of the mode because the foam will later on expand to fill the hole.
- Allow the foam to harden. Usually, it will take upwards to two hours. After, you tin can cutting flush it to the wall surface with a utility pocketknife before shaping information technology to concave.
- With a drywall articulation compound, utilise a layer of it to the hardened foam. Scrape the joint compound flat using the utility knife and so letting it dry overnight. Again, apply a coating before scraping to finish the task.
- Start sanding the final coat you have only applied when dried. To finish the task, prime the patch using PVA wall primer earlier painting information technology.
RV Laminate Wall Repair
Delamination is one of the major issues that have been plaguing many RV owners through the years. When this happens, in that location is unremarkably water regression in the Luan, as well called the interior panel & the film sheeting outside.
Due to the moisture buildup, the agglutinative quality volition exist compromised, resulting to warping or bubbles constitute on the surfaces.
In some cases, it may be worth repairing but not in all. For the small cracks or punctures, you can repair them or take them to the auto-torso repair store or RV dealer.
With the aluminum siding, you can likewise find specific gel-coat-type waxes and cleaning products in order to keep the RV looking new.
RV Shower Wall Repair
Check out the following for tips on how to repair the RV shower wall.
- Turn the water supply off.
- Take the shower admission panel out. If you cannot find the console's location, you should consult the RV manual.
- Locate and accomplish through the panel space. Disconnect both the cold and hot feeds, the pipes starting from the faucet assembly going to the showerhead, and the vacuum breaker.
- Remove fitted accessories. Remove shower walls. If your RV shower is non exclusive, you lot can take the uppermost piece out first and and then work all the way down towards the pan. In some cases, there may be brackets holding the console to the enclosure. You tin can notice them through the panel pigsty.
- Elevator the shower pan, just avoid dissentious the plumbing that carries the used water to the greyness holding tank.
- Measure out the exact size of the shower enclosure to buy a matching replacement.
- Read and follow the entire installation instructions that come with the replacement shower.
Read more than: RV Sewer Hose Fittings
RV Water Damage Wall Repair
For water impairment, expect a farther challenge in the DIY task. Check out the following steps.
- Prepare a tape, fourscore-dust sandpaper, threescore-dust sandpaper, epoxy resin or forest hardener, putty pocketknife & wood putty.
- Await for water leak sources to prevent more water harm.
- If the leaks are entering through the windows, apply RV caulking.
- You can likewise patch upwardly exterior siding and roof with waterproof tape. Apply it carefully because it volition non come off in one case its backing sticks to the trailer.
- Only for major outside siding or roof repairs, you might desire to ask help from a pro because it is labor-intensive.
- From the inside of the camper, expect for all areas with water impairment. Check the ceiling, flooring & walls for signs as well as mushiness.
- You can as well repair damaged wood in the wall by pulling off the loose pieces and smoothing the woods dust remaining using eighty-dust sandpaper. Paint or spray-on epoxy resin or wood hardener. Information technology will not just repair and harden the wood just will foreclose mold growth, too.
- Apply wood putty after 24 hours in guild to harden the wood. Use putty to fill the wood indents that resulted from the h2o damage. Dry the forest putty and sand it using 60-grit sandpaper to smooth it.
- Install the new paneling or wallpaper.
At that place you have some of the most common wall issues and fixes you can practice yourself. Simply in the case of major repairs, you lot might want to seek help from a pro.
Read more: Best RV Toilet Paper Eco-Friendly, Septic Safety & Clog-Free RV Toilet Tissue

Source: https://rvneed.com/rv-wall-repair-do-it-yourself-exterior-interior-water-damage/
Posted by: hendersonofectown.blogspot.com
0 Response to "How To Repair An Rv Water Pump"
Post a Comment